It was so so sunny at the allotment today, absolutely gorgeous weather that shows that spring is really truly finally here. The tiddlers and I were there for nearly 3 hours, exploring and playing. I'm so pleased that the children are enjoying the allotment what with their being just 2 and 4. I think it helped that the water has been turned on on site now and they could get watering can happy!
Today's job was to find the place for these three lovely herbs. There is a sweet little chive that was given to me last spring by my pal Sue, it overwintered in a grow-bag in my garden and was I really happy to see it strong and flourishing there this spring.
The other two plants are Rosemary and Mint, gifted to me by a lovely
lass called Linda along with a selection of seeds and the coolest
looking runner bean seeds form her own allotment.
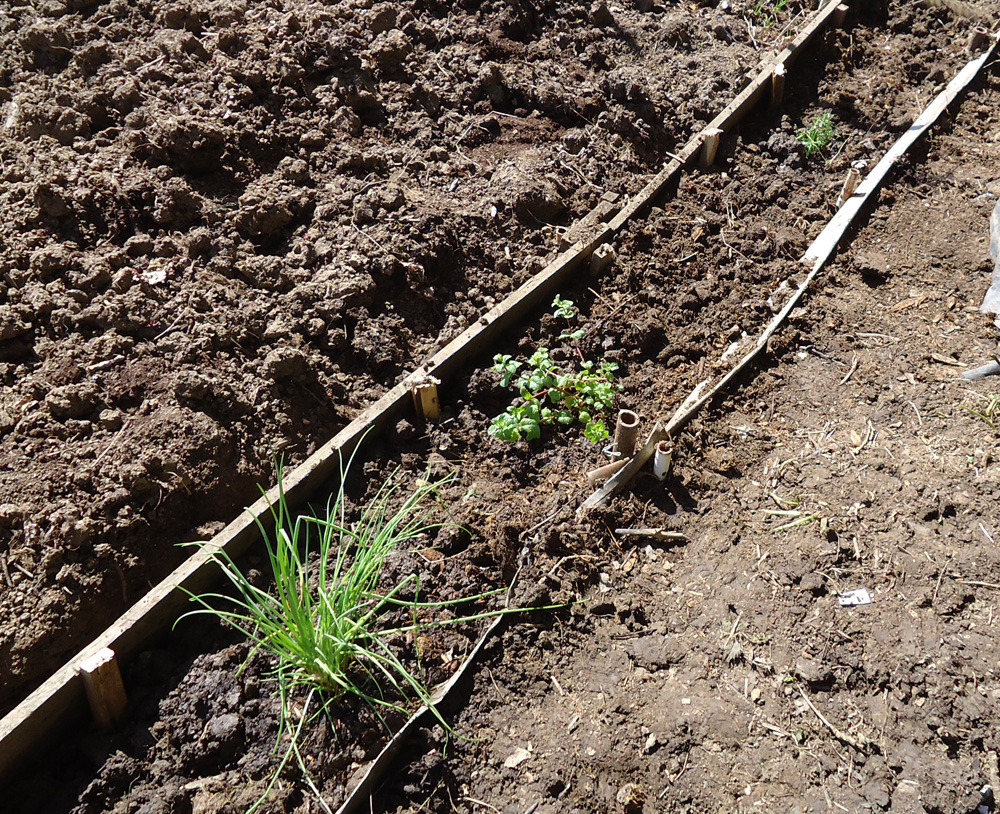
Following some great advice from Linda about planting the Mint where it can be contained, I have decided to turn this narrow trench of a bed that runs along the back of plot 36 in to a herb bed. It will give the mint room to spread but not to take over.
The trench bed was full of bramble roots and nettles so I needed to turn the whole lot over and chase out all of the roots first, a full carrier bag full it turned out!
When I dug out the trench bed the plank that separates it from my early potato bed collapsed inwards so I shored it up with some wooden stakes before filling it back up with lovely root free earth mixed with some compost. I hope my special herbs like their new home.
I want to show you a stunning little visitor that fluttered over to see us today. I've never seen a butterfly like this before so I uploaded my photograph in to google image search and found out that it is called a Peacock butterfly (Inachis io). It is pretty common in the UK and lays it's eggs on the underside of nettle leaves in the spring. I think it is just beautiful.
Hope it is all hot and sunny where you are too,
Jolene x
 1. Apply the murrini chip to your bead and then heat and press gently to flatten. Continue to heat and press a little at a time until the murrini is flat to the surface of your bead.


 Here are my baby Blackcurrant plants in their new home next to the Comfrey bed. I'm really not sure if there will be any fruit from them this summer. I also planted 10 Charlotte seed potatoes today, the ground was finally dry enough to pop them in with plenty of lovely compost to give them a good start. I have had these chitting in my kitchen for the past 4 weeks. Here is a useful little garden organic fact sheet on chitting potatos. All being well these Charlottes will be ready to harvest in July or early August.

